|
Recently you may have heard of the massive romaine lettuce recall due to an outbreak of E. coli which sickened 121 people and caused 1 death. The contaminated lettuce was traced back to the Yuma, Arizona growing region. In addition to romaine, there are many other types of lettuces and greens that make delicious salads and are great on sandwiches or in wraps. Dark leafy greens offer plenty of beta carotene (an antioxidant), which helps to form vitamin A in the body. The darker the leaves, the more nutrient rich the lettuce. For example, Butter lettuce has eight times more vitamin A than iceberg lettuce. Greens also deliver folate, potassium and dietary fiber. To add some flavor, texture, and color to your salad, try adding some arugula or watercress for a peppery flavor. Radicchio is red and white which looks beautiful mixed into nice leafy greens. For a more mild flavor, use butter lettuce (also goes by the names Boston or bibb lettuce) and it comes in red and green varieties. Get creative and have fun trying different combinations of these delicious and healthy leafy lettuces and greens. Mixed Greens Salad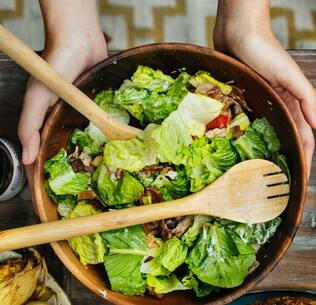 2 tablespoons red wine vinegar 2 teaspoons freshly squeezed lemon juice 2 teaspoons Dijon mustard 2 teaspoons minced shallot 1/3 cup olive oil Salt Freshly ground black pepper 6-8 cups various greens Shake all the ingredients vigorously in a screw-top jar; taste and adjust the seasoning with salt and pepper. Or, in a small bowl, whisk together the vinegar, lemon juice, mustard, and shallot. Gradually whisk in oil until emulsified; season with salt and pepper. Pour over 6 to 8 cups fresh salad greens: red or green leaf lettuce, romaine hearts, arugula, watercress, spinach, or frisée, or a mixture! Toss to coat.
0 Comments
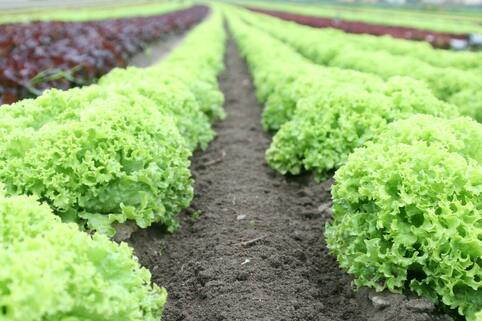
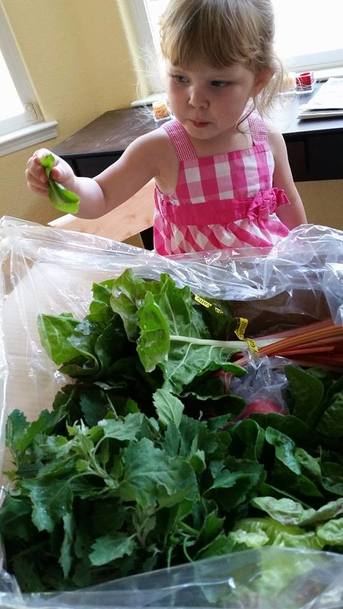
This is the time of year for planting a fruit and vegetable garden at home or in your neighborhood. Nothing compares to the perfectly ripe taste of a homegrown tomato or a delicious sweet carrot! Gardening is a great physical activity that not only provides you with tasty produce, but also gets you and your family members outside for some fresh air. Growing your own food is also one of the best ways to teach children about fruits and vegetables and will get them excited to try some new foods!
This is the time of year for planting a fruit and vegetable garden at home or in your neighborhood. Nothing compares to the perfectly ripe taste of a homegrown tomato or a delicious sweet carrot! Gardening is a great physical activity that not only provides you with tasty produce, but also gets you and your family members outside for some fresh air. Growing your own food is also one of the best ways to teach children about fruits and vegetables and will get them excited to try some new foods!
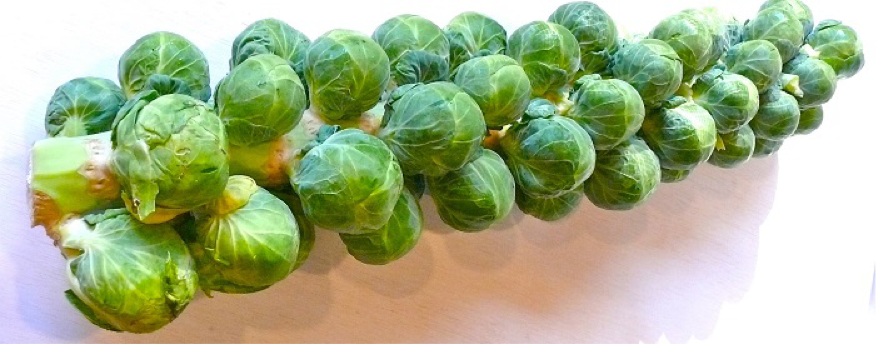
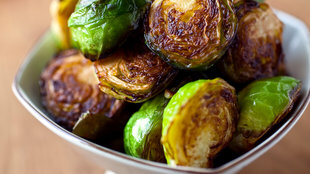
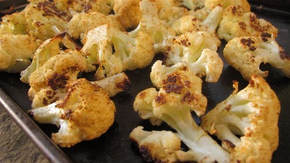 Aahh, cauliflower. An interesting vegetable that, for many, is a bit bland. Growing up my parents boiled it to death and covered it with cheese sauce – not the healthiest! You may have heard “eat the rainbow” reminding you to eat colorful fruit and vegetables for the most nutrients. And some people are on a “no white foods” kick. Really, what good is cauliflower anyway? Cauliflower’s a white (yes, that counts as a color) veggie (or orange or purple if you are feeling adventurous and spendy) and it’s an excellent source of fiber, potassium, vitamin C, and B vitamins. Not to mention important antioxidant phytonutrients! Go ahead and give it another shot – you won’t be sorry! How do I get my children to ask for cauliflower for dinner? Roast it of course! Kids should basically eat everything their family eats. None of this cooking a separate meal or eating off the kids menu (that’s a whole other post)! So whatever veggie I’m making for dinner, my kiddos will get some. By now, she’s figured out that she needs to at least taste everything and most of the time she ends up eating a pretty good amount of each item on her plate. As a registered dietitian, I’m always looking for ways to ditch the cheese sauce and find that perfect balance of healthy and delicious! Roasting is easy – set it and forget! Just break up your cauliflower into small-medium florets and toss with a little olive oil, salt, and pepper. You can add other flavors as well such as a little lemon juice, garlic, or some thyme. Then spread it out on a cookie sheet and roast at 450 degrees for 20-25 minutes. Perfectly caramelized deliciousness! Fast enough for a healthy weeknight meal. So, skip the cheese – your kids will thank you! So many people strongly dislike those little mini cabbage looking brassica vegetables. Most often they lament that their grandmother boiled them to their soggy deaths and forced them on the family every Sunday night. So how is it that my 3 year old yells out in the grocery store that we absolutely must buy more Brussels sprouts this week? Well, for one, she's been eating them for as long as she can remember! And two, you've got to roast them! You'll hear me say it time and time again, kids should be offered pretty much every food their parents are eating. My only exception is super spicy food, cause that's just not fair. So, anytime we have Brussels sprouts, my little gets a few on her plate. Typically, she tastes everything on her own with out prodding, but sometimes she needs a little encouragement. Honestly, she can't get enough Brussels!
Now, as a registered dietitian, you may think that I am required to like all veggies, including soggy sprouts. Alas, I do not. I highly dislike soggy Brussels sprouts! But, I love love love them roasted! Roasted Brussels sprouts are delicious and nutritious! They are an excellent source of vitamin C, vitamin K, and several B vitamins, as well as soluble fiber. As with any plant, they have all sort of beneficial phytochemicals. So, how does one roast a Brussels sprout? It's super easy! Preheat your oven to 400 degrees F. Peel off any yucky outer leaves (or buy them already prepped!). You may want to slice the larger ones in half. Toss them with a little olive oil - try lemon infused olive oil! Add a little salt and pepper. And you are done! Get creative and add some lemon juice or garlic powder if you like. Spread them out on a baking sheet - I use a silicone baking mat on a metal cookie sheet that has about a 3/4 inch lip. Then bake for about 30 minutes. You can shake or stir them half way through. That's it! Caramelized deliciousness! |
AuthorGina Berry is a registered dietitian with a masters degree in pediatric nutrition. She is a Certified LEAP Therapist and was also Board Certified in Pediatric Nutrition in 2011. Archives
March 2019
Categories |


 RSS Feed
